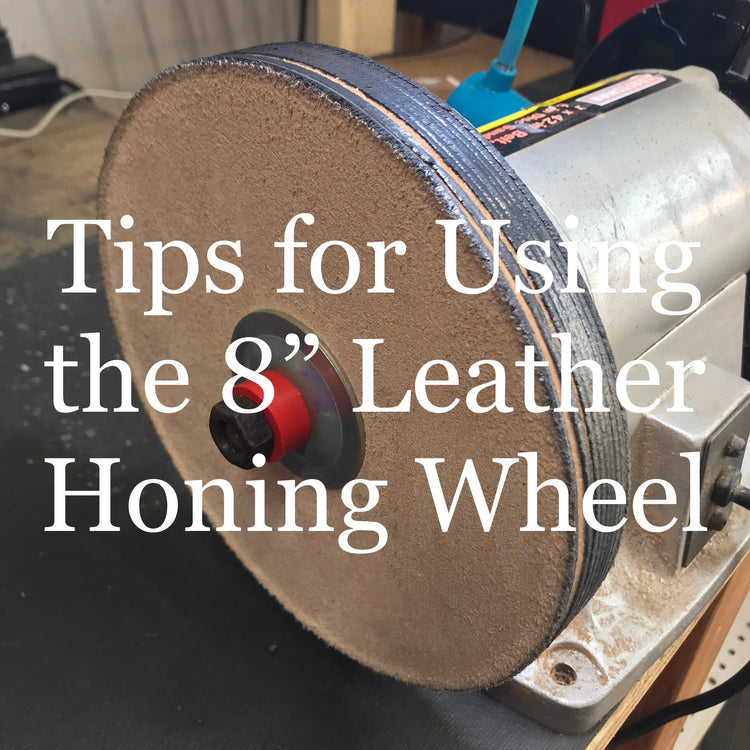
Tips for Using the 8" Leather Honing Wheel

How to use an 8" Leather Honing Wheel (also applies to our 5", 6", and 6.5" Leather Honing Wheels.)
Safety First!
-Always wear ANSI rated Eye Protection. Secure hair and loose clothing. Follow all safety instructions on your grinder.
-Always hone edge trailing. NEVER point the edge of the blade into a moving wheel.
Installation:
We recommend setting your grinder up so the top of your wheel spins away from you. You will also want to remove or adjust any guards that will interfere with accessing the wheel. The leather wheel will run open like a buffing wheel. Secure your grinder with bolts or clamps. You will want adequate light aimed at your grinder.
How to use:
First, “load” your wheel with honing compound. With your wheel running, press the compound onto the wheel. Evenly apply a light coating. This can be a messy step as some compound may fling off the wheel. I typically reapply compound after honing about 3 chef knives that are 8-10 inches.
Now, locate the side of your knife with the raised burr. This is the side that will make contact with the wheel first. Hold your knife securely and begin honing at the heel of the knife. The best way I’ve found to achieve the correct grinding angle is to begin at the top of the wheel and slowly bring the edge of the knife down the wheel, lowering the angle until you notice the burr becoming visibly removed. When you see the burr being flipped and coming off, that’s the angle you want to maintain. Having a light aimed at the knife will help illuminate the burr for you to see. When you find the angle you need, you can make a few passes across the full edge of the knife. When the tip of your knife reaches the middle of the wheel, lift the blade away from the wheel. You do not want to drag the knife fully to the edge of the wheel. You will need only about 2 passes on this side and 2 passes on the opposite side. You may notice a slight increase in the amount of pressure you apply improves the burr removal.
After the 2 passes on each side, test the sharpness of your blade. If you have used a 5” or 6” wheel before, you may notice that the 8” wheel works a bit faster at removing your burr.
Reminder, extra passes are not necessary after the removal of your burr. The more passes the more you risk dulling your edge.
If you have any questions feel free to contact us.
Happy Sharpening!
-Kristie

How many angles are on that blade sir?